I had to work on Splunk SSO Integration and since had never touched SSO/SAML before, I wanted to play with it a little bit on my machine. I’ve decided to use Oath0 as my IdP
This tutorial is based on SAML SSO with Auth0 as Service Provider and as an Identity Provider, but the steps that are relevant to configuring an Auth0 tenant as the Service Provider (SP) are replaced with Splunk Configuration.
Set up the Auth0 IDP
In this section you will configure one Auth0 tenant (tenant 2) to serve as an Identity Provider. You will do this by registering an application, but in this case, the ‘application’ you register is really a representation of tenant 1, the SAML Service Provider.
In the Auth0 dashboard:
- Click on “Applications” link at left.
- Click on the red “+ CREATE APPLICATION” button on the right.
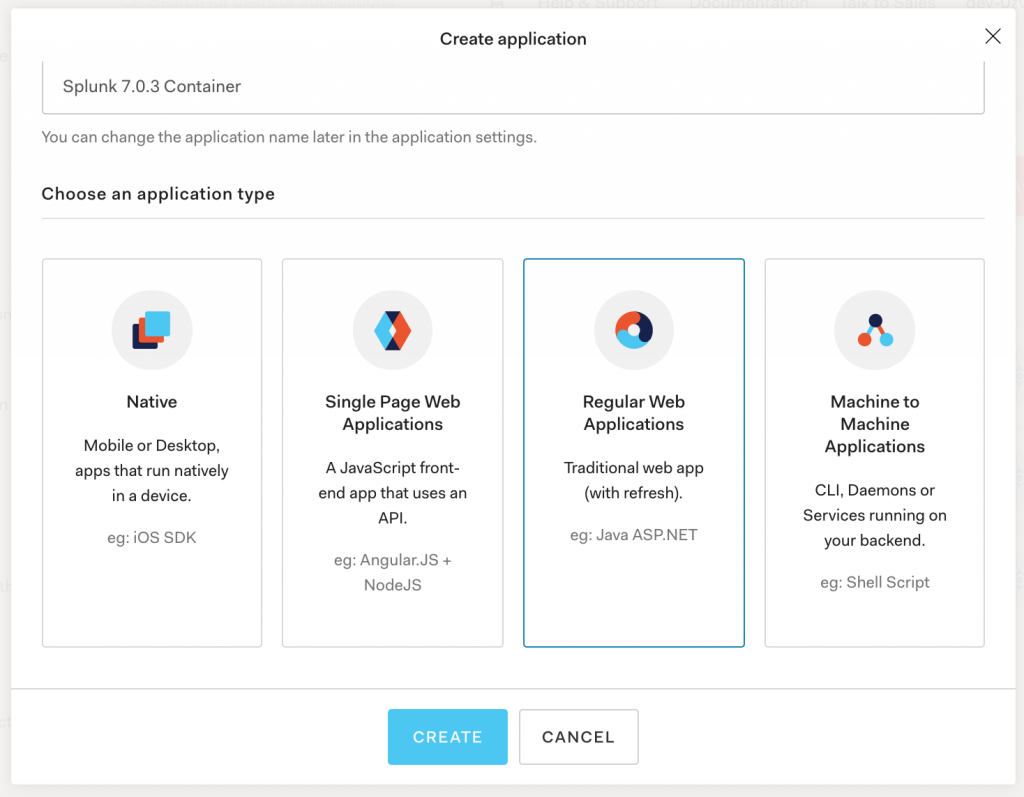
- In the Name field, enter a name (I’ve had mine as “Splunk 7.0.3 Container”).
- Press the blue “SAVE” button.
- Click on the “Settings” tab.
- Scroll down and click on the “Show Advanced Settings” link.
- In the expanded window, scroll down to the “Certificates” section and click on the “DOWNLOAD CERTIFICATE” link and select PEM from the dropdown, to download a PEM-formatted certificate. The certificate will be downloaded to a file called “YOUR_TENANT.pem”. Save this file as you will need to upload this file when configuring the other Auth0 tenant, tenant 1.

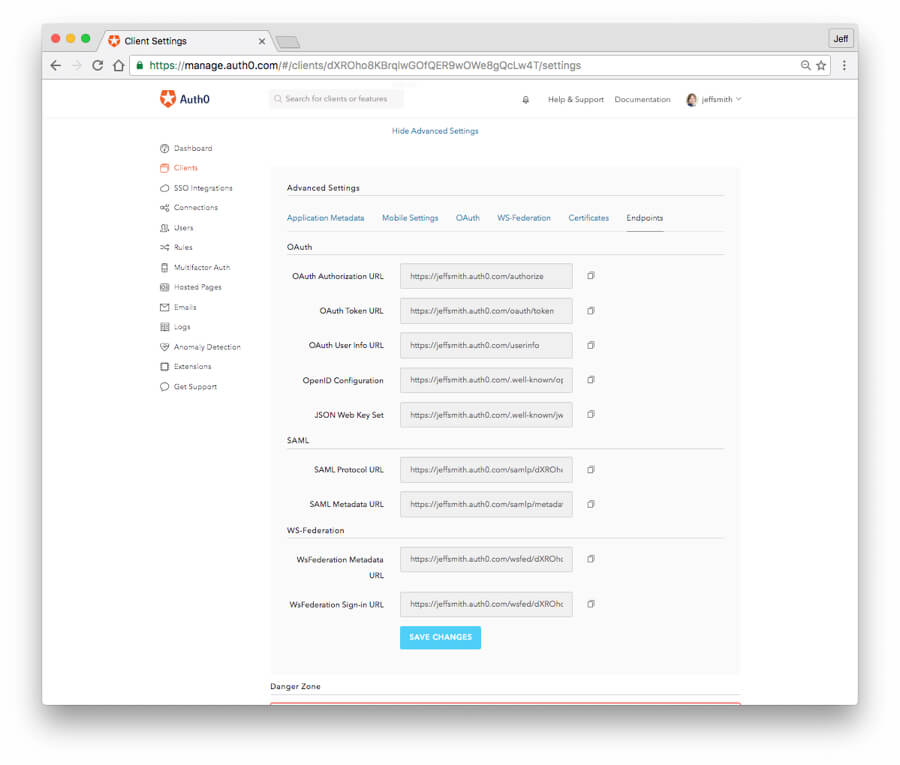
- Click on the “Endpoints” tab and go to the “SAML” section.. Follow the “SAML Metadata URL” to download the IdP metadata file which we will need later in Splunk SAML configuration.
- Click on the “Endpoints” tab and go to the “SAML” section. Copy the entire contents of the “SAML Protocol URL” field and save it as in the next step you will need to paste it into Splunk SSO configuration .
Creating User(s) in Auth0
Next, create a user to use in testing the SAML SSO sequence. In the Auth0 dashboard:
- On the lefthand side, navigate to Users and Roles > Users
- Click on the “+ CREATE YOUR FIRST USER” button.
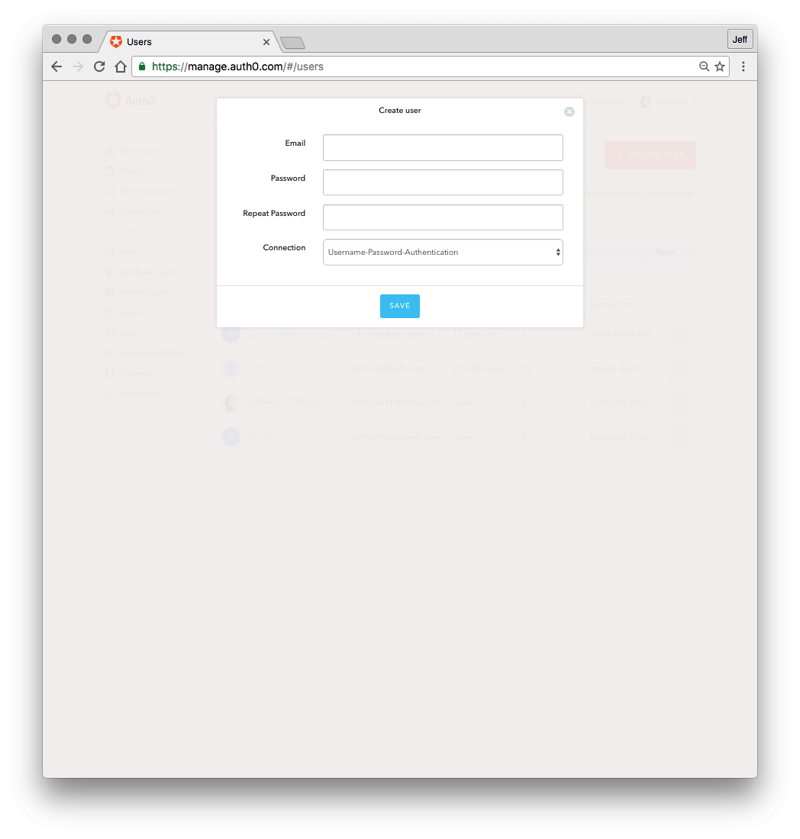
- In the Email field, enter an email for your test user. The domain name for the email should match what you enter in section 3 below. For example, if your user is
john.doe@abc-example.com, you would enter that here, and then enter “abc-example.com” in step 3 below for the Email domain. - Enter a password for the user
- For the Connection, leave it at the default value. (Username-Password-Authentication)
- Press the blue “SAVE” button.
Creating Roles and assigning user(s) in Auth0
Since Splunk relies on the IdP to return the user roles you will need to create at least one new Role and assign a user to it.
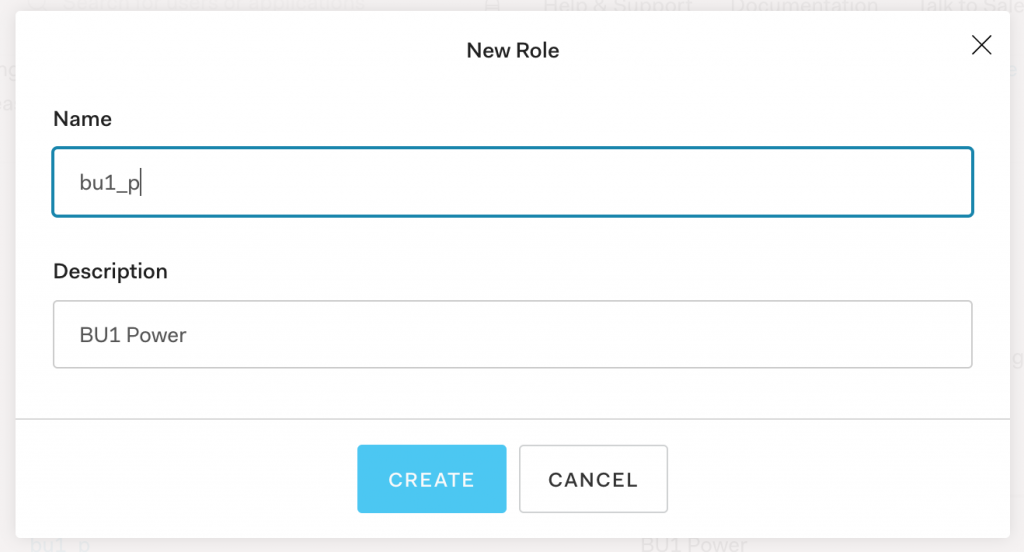
- On the lefthand side, navigate to Users and Roles > Roles
- Click on the “+ CREATE ROLE” button.
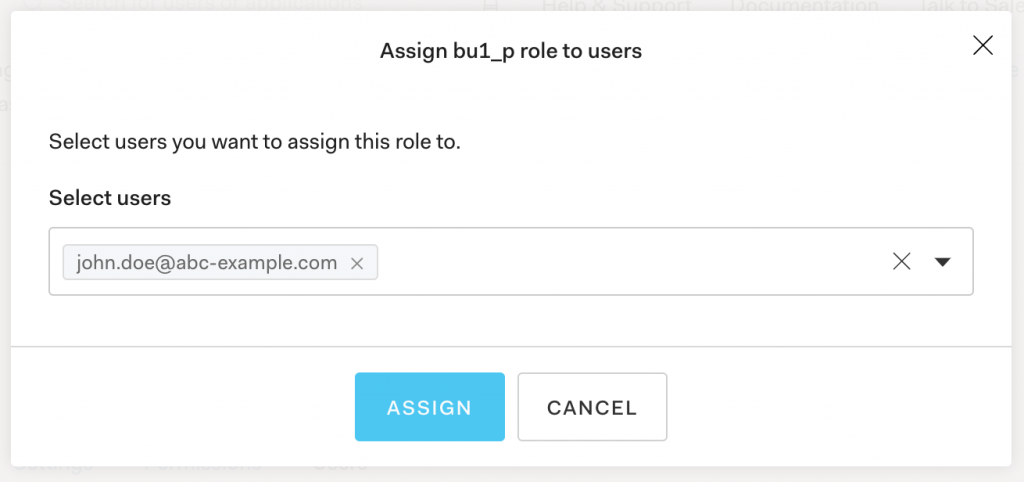
- Once the Role is created click on “ADD USERS” button
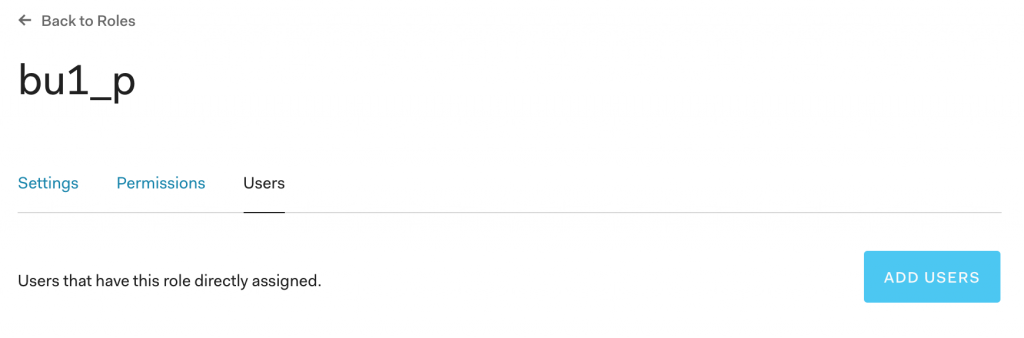
- From the dropdown list select the user and click “ASSIGN“
NOTE: for Auth0 to return the groups information in SAML you will need to follow the steps in Return User Roles in Auth0.
Configure Splunk
- Login to Splunk
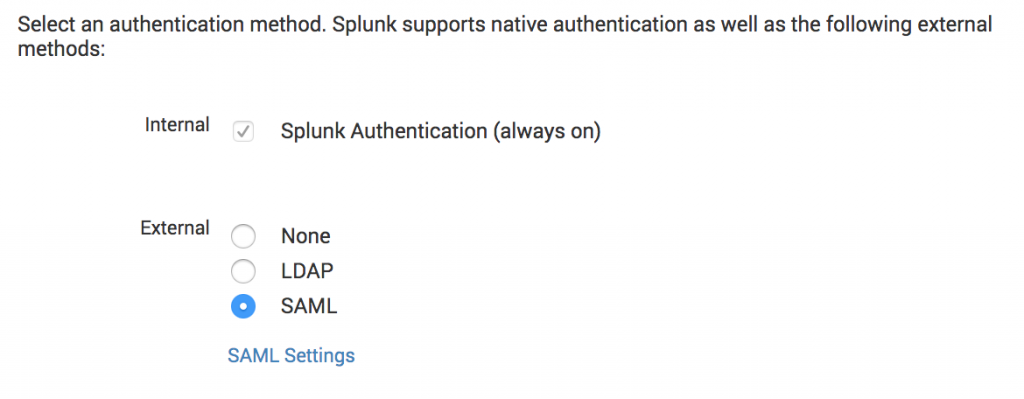
- Navigate to “Settings” > “Access Controls” > “Authentication Method”
- Under External authentication methods, select “SAML” and click the “SAML Settings” link
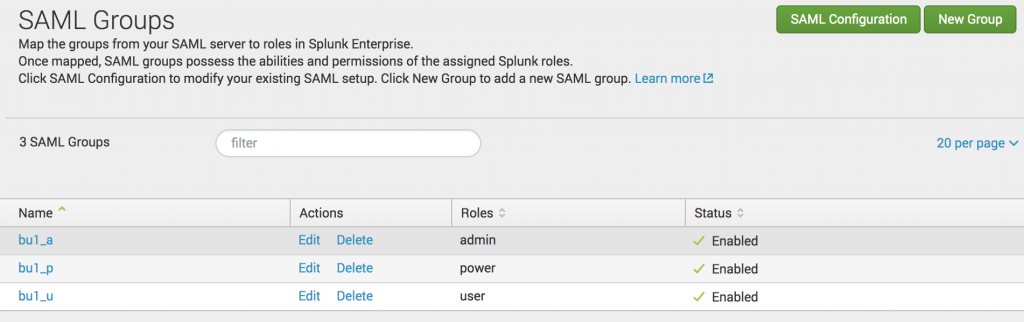
- Create the required SAML groups (and assign roles to them), so that these group names will be matched with the Auth0 role names
- On top right corner click the “SAML Configuration” button
- On the right of the “Metadata XML File” click “Select File” and upload the IdP metadata file that you’ve downloaded from Auth, it will be called something like dev-1a2b3c4d-idp_au_auth0_com-metadata.xml (the first part will depend on your Auth0 tenant name).
![]()
- This will populate most the required fields in the SAML settings.
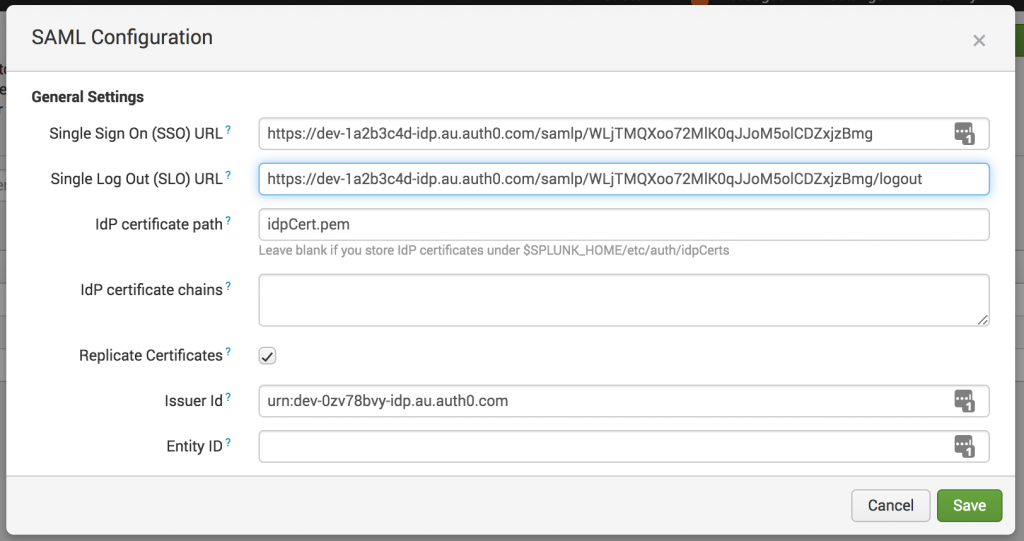
- Now fill in “Entity ID”, must be unique for your IdP (I used “Splunk703”)
- I have also used “Aliases” to get the Roles information from Auth0
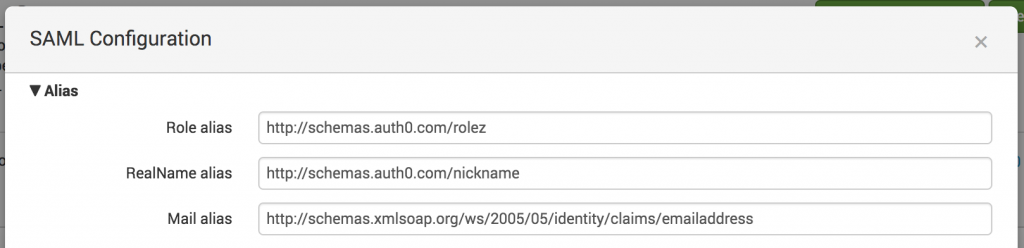
-
- At the top of this SAML Configuration page click the “Download” button to get Splunk’s SP Metadata File
Add your Service Provider (Splunk) metadata to the Identity Provider (Auth0)
In this section you will go back and add some information about the Service Provider (Splunk) to the Identity Provider (Auth0) so the Identity Provider Auth0 tenant knows how to receive and respond to SAML-based authentication requests from the Splunk.
In the Auth0 dashboard:- Click on “Applications” link at left.
- Find the row for the application you created earlier, and click on the “Add Ons” icon to the right of the application name. (the angle bracket and slash icon)
- Locate the box with the “SAML2 WEB APP” label and click on the circle toggle to turn it green.

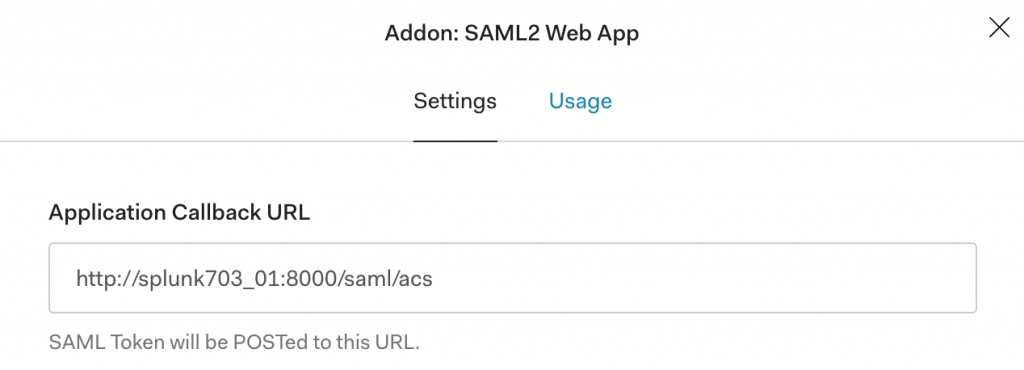
- Next, a configuration window will pop up for the “Addon: SAML2 Web App”. Make sure you are in the Settings” tab.

- In the “Application Callback URL” field, paste in the Assertion Consumer Service URL that can be found in the Splunk SP Metadata XML file that you’ve downloaded from Splunk UI in the previous section. It will be the value of
SPSSODescriptor > AssertionConsumerService > Location (http://splunk703_01:8000/saml/acs in my case)

- In the Settings field below, go to line 2 that has the “audience” attribute.
First remove the “//” at the beginning of the line to uncomment it, and remove the comma (‘,’) from the end of the line.
Next, replace the original value (urn:foo) with the Entity ID value you used in Splunk. The new line 2 should look something like: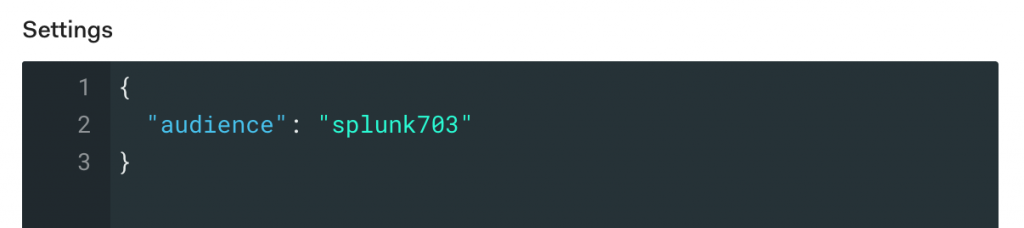
- Click on the blue “SAVE” button at the bottom of the screen
Test Identity Provider
In the same screen, click on the red “DEBUG” button.
That will trigger a login screen from tenant 2, the Identity Provider.
Log in with the credentials for the user you created above.
If your configuration is correct, you will see a screen titled “It works!”
This screen will show you the encoded and decoded SAML response that would be sent by the Identity Provider.
Check the decoded SAML response and locate (about half-way down) the"<saml:Audience>"tag and make sure it matches the Entity ID you entered in the previous screen (obtained during step 3).
Click on “Close this window” at the bottom of the screen.Logging In
Browse to you Splunk URL (http://splunk703_01:8000/en-US/) in my case.
You will be redirected to the Auth) Authentication screen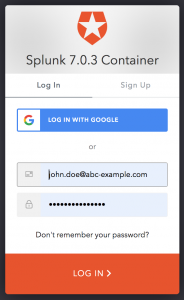
After you provide your credentials your browser will redirect back into Splunk
You can verify that the user has received the expected roles by logging in as Admin and going to Settings > Access Controls > Users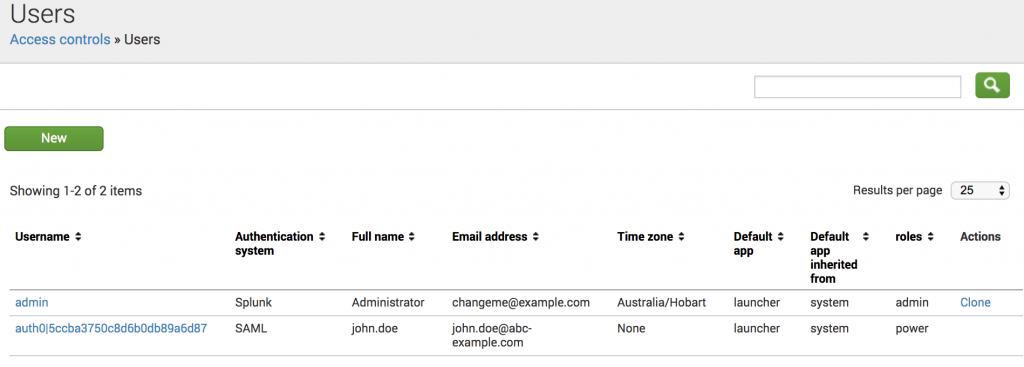
By the way,, if you want to bypass SAML and login using Splunk local user browse to<SPLUNK_URL>/account/login?loginType=Splunk (which is http://splunk703_01:8000/en-US/account/login?loginType=Splunk in my case)
Related posts about Splunk
Add new LLM models to Splunk MLTK
Predicting multiple metrics in Splunk
Splunk Failed to apply rollup policy to index… Summary span… cannot be cron scheduled
How to collect StatsD metrics from rippled server using Splunk
Plotting Splunk with the same metric and dimension names shows NULL
Splunk Eventgen Jinja templating
How to Register to Splunk Partner Portal and transfer Certifications and Learning