Well, if you are looking at this post you (1) have your own domain name (Psst! If you don’t, but need one? Try Namecheap), (2) love using Gmail and want to use it as to send and receive email for your domain and (3) prefer not to pay for this. If not the 3rd point you could easily do it using G-Suite (message me if you want to get a 20% discount code for your first year, as a comment here or on Twitter @IlyaReshet), but then you will have to pay $5/month, but fear not, there is a way to use Gmail with your own domain for free.
Update 2020: Here is how to do it with Zoho Mail.
When I started working on my new side-project
alinks4u.com (allows you to easily create Amazon Affiliate links) I bought the domain from Google Domains and needed to set up sending and receiving email for this domain. Below are the steps required to do it and they are inspired by this article.
Receiving Emails
Create a new Gmail account (Optional) You can continue using your existing, personal account if you wish to, but I preferred to create a new one
Set up Mailgun
Sign up
Mailgun allows you (among a lot of other things) to send emails via API and SMTP, as well as set up “routes” for incoming rules. Both of these functionalities we will use here. Their free tier allows to send up to 10000 emails a months, which was more then enough for me.
Create a new domain
Go to Domains and click Add New Domain 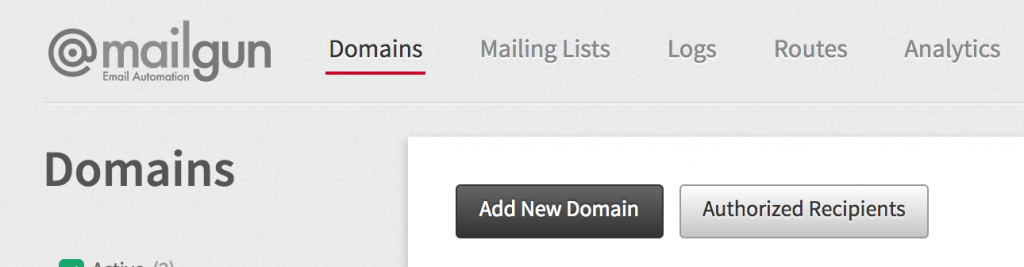 Enter your domain name. You can disregard the warning since we are actually using this (root) domain (and not any subdomain to send and receive emails.
 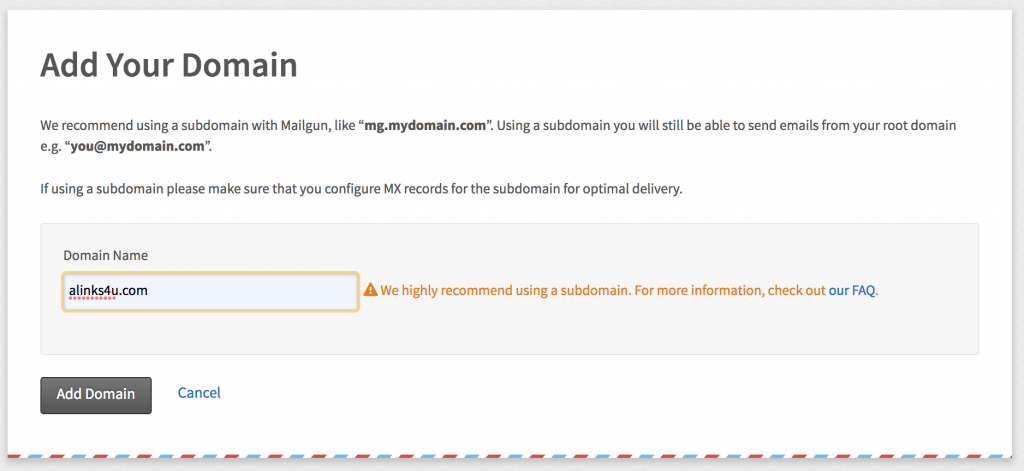 After clicking Add Domain you will be shown the DNS records that you will to update.
  You can go back to these DNS records anytime, by going to Domains and clicking the domain you’ve just added and expanding the Domain Verification & DNS section
Set up forwarding
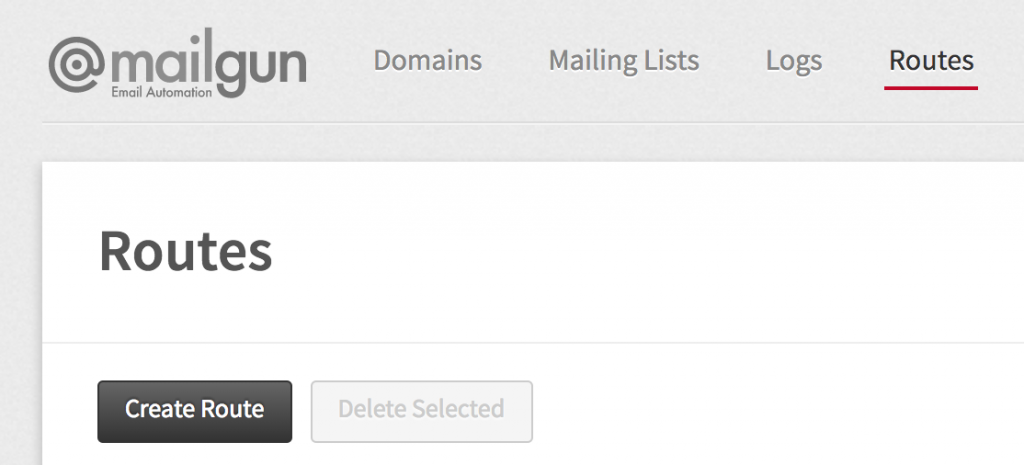
Mailgun routes are basically rules for incoming emails. You can set up forwarding to other email addresses or to webhooks (we will use the former) Go to Routes and click Create Route
 If you have only one domain defined in Mailgun you can use the Catch All rule or in case you have multiple domains create a Match Recipient one like the one below (off course replace it with your own domain name :-))
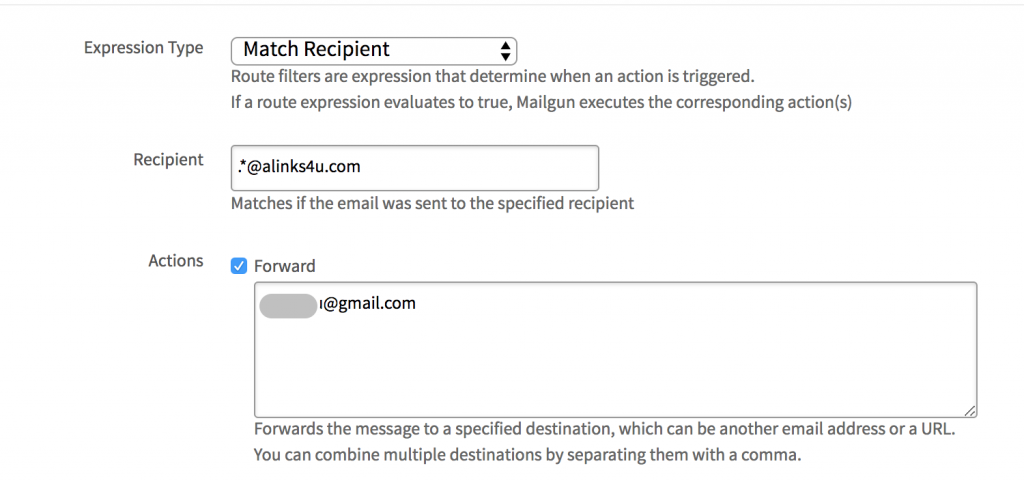
Configure DNS in Google Domains
Since, as mentioned I got my domain from Google Domains I’ll show how to configure the DNS records mentioned above in the Google Domains panel, but the steps will be quite similar for any other domain name registrar/hosting In your Google Domains panel click the DNS link
 Scroll down to Custom Resource Records and add the DNS records as advised by Mailgun. One thing worth mentioning when adding TXT records surround them with double-quotes (like “record value”) This how my records looked like
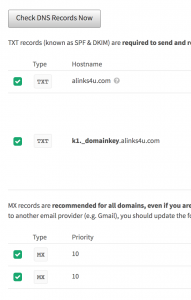
 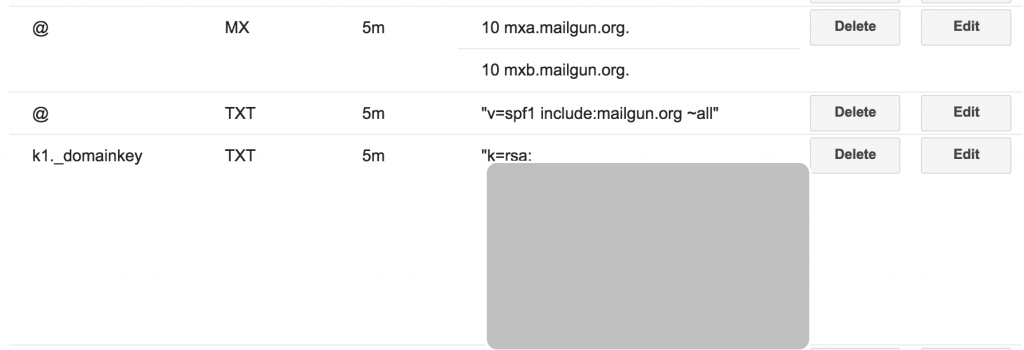 The DNS settings can take some time to propagate (from a couple of minutes to hours:-)),but you can check the status by going to Mailgun > Domains >your domain > expanding the Domain Verification & DNS section. If the DNS was configured property you will see a green tick near the required entries.
Now all your emails will be forwarded to your Gmail address, the one you’ve specified in the Mailgun route. You can try that by sending an email from your personal email account to some address in your new domain for ex: admin@example.com or support@exampe.com. As you remember we used wildcard in the route, so any email (in your domain) will work.
Sending Emails
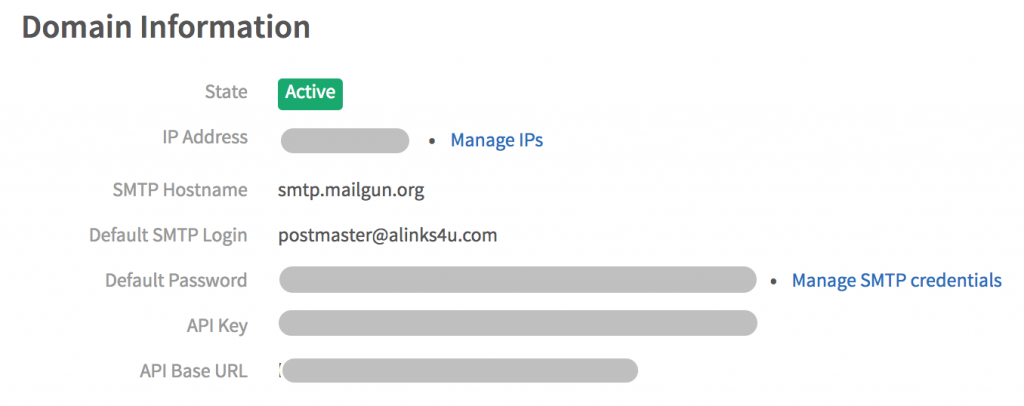
We will be setting up an account alias in Gmail. To do that we will need SMTP settings from Mailgun. In Mailgun go to Domains and click your domain. At the top of the page, you will see a Domain Information section which has all the info that we need
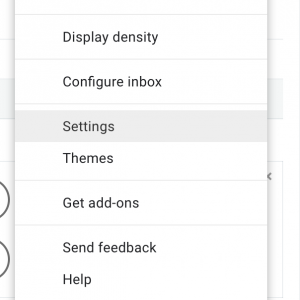
 Configure Gmail In your (optionally) new Gmail account Go to Settings > Accounts and Import.
Under Send mail as: section click Add another email address

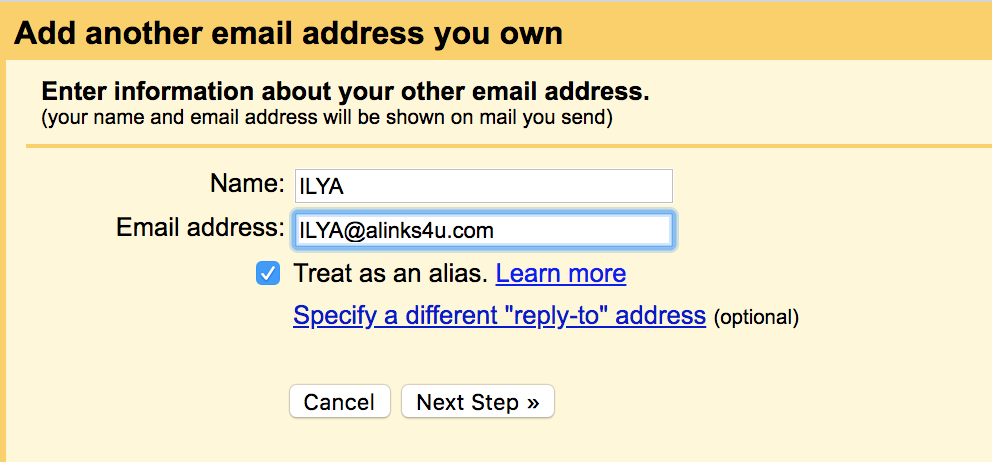
In the wizard enter the name that you want to appear as the sender name and the email address
Configure SMTP settings based on what was suggested in the Domain Information section (on Mailgun), use port 485 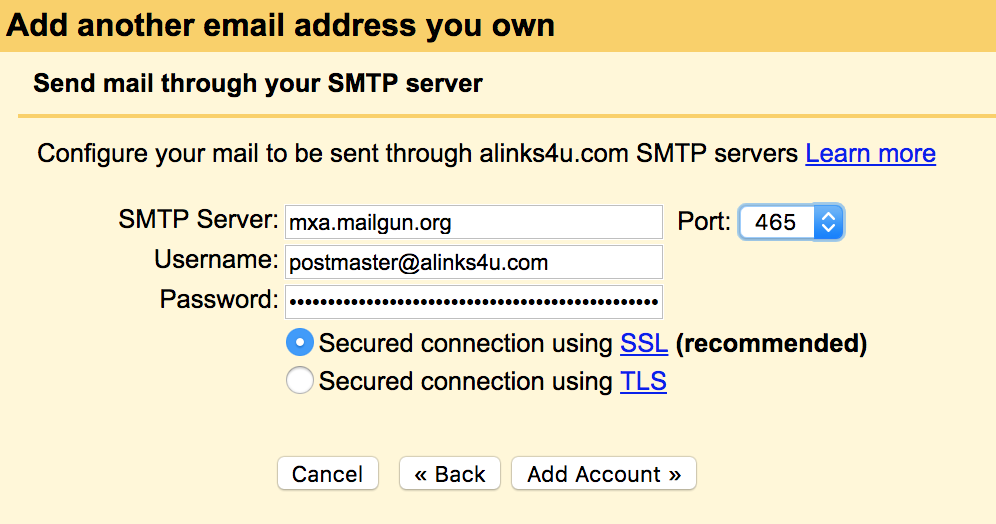 Then Gmail will send an email with a validation code. It will be sent to the email you’ve specified in the first step of this wizard, but since we have set up a route in Mailgun it will receive it in the current email account (the one that you following the wizard in).
 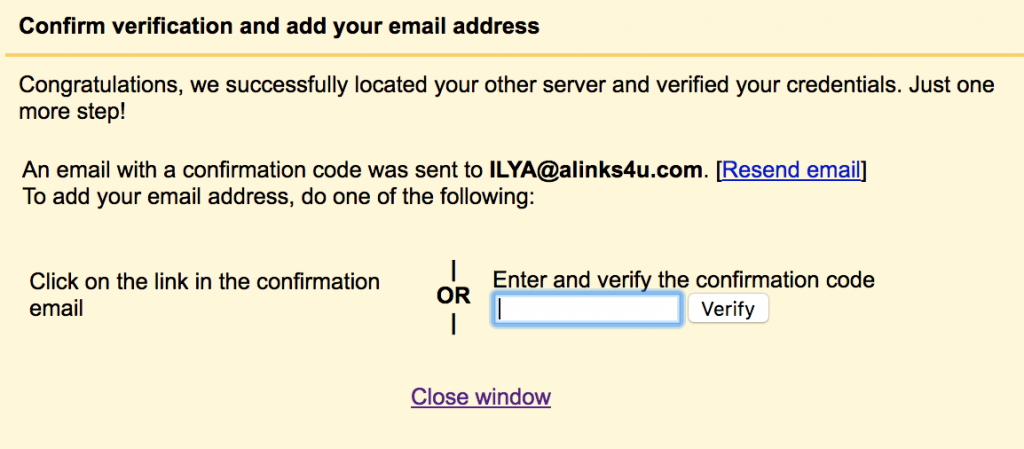 So paste your validation code and you are good to go Now you can try sending an email as the created Alias to some other email address and you will receive it properly
  With all the validations, bells and whistles
 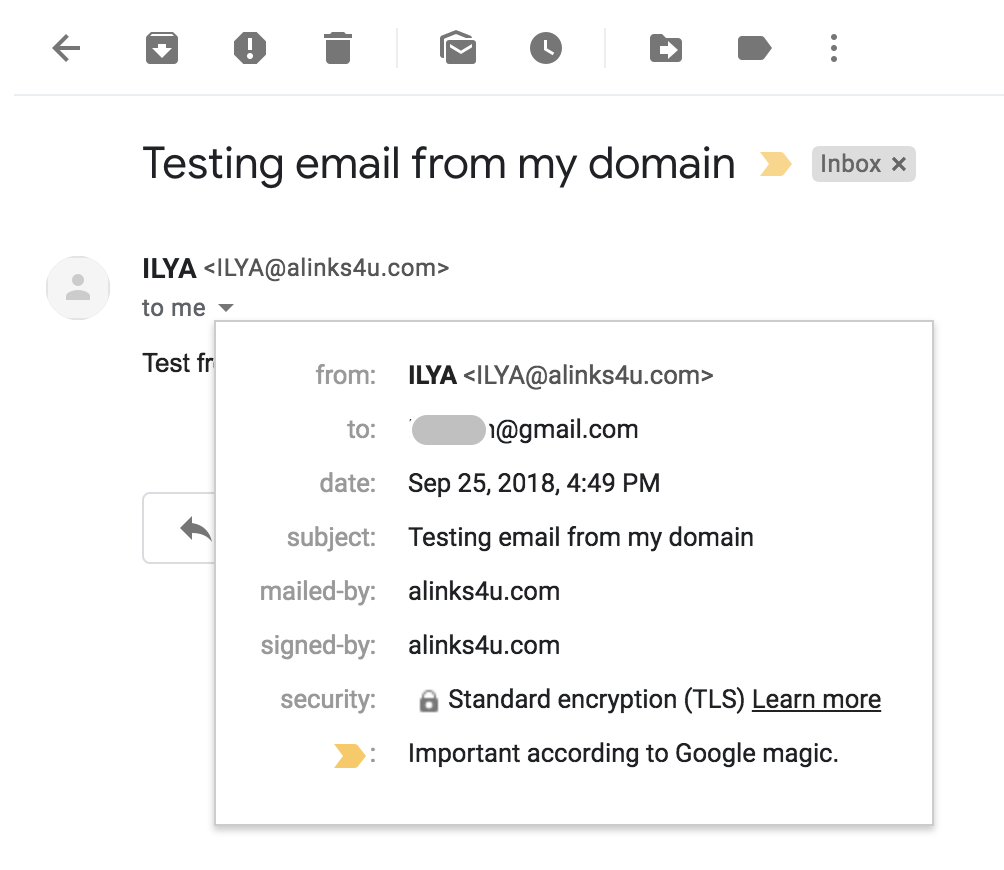 I hope you will find this post useful, Feel free to comment or to reach out to me @IlyaReshet
One thought on “Use Gmail with your own domain for free”